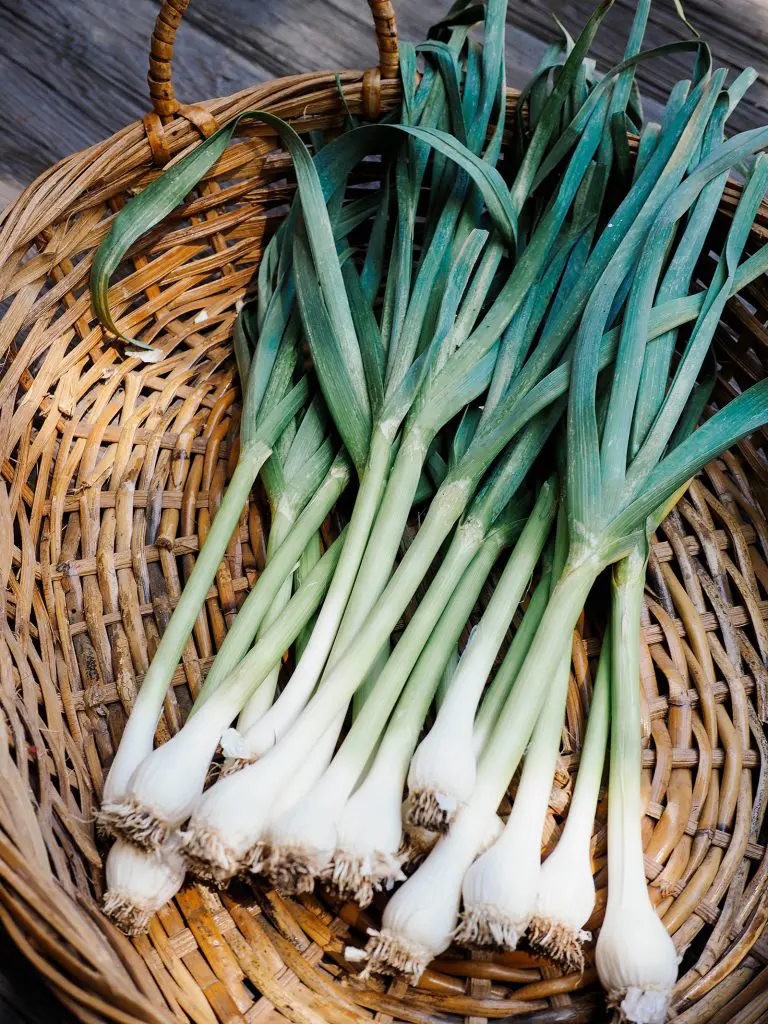
7 Tips On How To Grow Garlic At Home

Garlic, with its pungent aroma and versatile flavor, has been a staple in kitchens around the world for centuries. Beyond its culinary uses, garlic is also renowned for its numerous health benefits, making it a popular addition to many home gardens. If you've ever dreamed of harvesting your own fresh and flavorful garlic bulbs, then this article is for you. In this guide, we will provide you with seven essential tips to help you successfully grow garlic at home.
Growing garlic at home is a rewarding and enjoyable experience that doesn't require extensive gardening knowledge or a large space. Whether you have a sprawling backyard or a small balcony, you can cultivate garlic and relish in the satisfaction of using your own homegrown bulbs in your favorite recipes.
This article will cover every stage of the garlic-growing process, from selecting the right variety and preparing the soil to planting, caring for the plants, and harvesting. We will explore the importance of providing adequate water, proper fertilization, and the significance of scaping for optimal bulb development. Additionally, we will share insights on how to store your garlic harvest to enjoy its flavors and health benefits for an extended period.
So, roll up your sleeves, grab your gardening tools, and let's dive into the seven essential tips for growing garlic at home!
- Selecting the Right Garlic Variety
- Preparing the Soil
- Planting Garlic
- Providing Adequate Water and Mulch
- Fertilizing Garlic
- Scaping and Harvesting
- Proper Storage
1. Selecting the Right Garlic Variety
Choosing the right garlic variety is crucial for a successful harvest. There are two main types of garlic: hardneck and softneck. Hardneck garlic varieties produce a flower stalk called a scape, which can be harvested and eaten. Softneck garlic varieties are milder in flavor and have a longer shelf life. Consider your climate and personal taste preferences when selecting a garlic variety. Some popular choices for home gardeners include 'German Extra Hardy,' 'Inchelium Red,' and 'Music.'
2. Preparing the Soil
READ ALSO » 10 Tips To Grow A Long Beard And Moustache
Garlic thrives in loose, well-drained soil enriched with organic matter. Before planting, prepare the soil by removing any weeds or debris and loosening it with a garden fork or tiller. Incorporate compost or well-rotted manure into the soil to improve its fertility and drainage. Garlic prefers a slightly acidic soil with a pH range of 6.0 to 7.0. You can test your soil's pH using a soil testing kit available at garden centers.
3. Planting Garlic
Garlic is typically planted in the fall, around four to six weeks before the ground freezes. Separate the garlic bulbs into individual cloves just before planting, being careful not to damage them. Plant the cloves with the pointed end facing upward and the basal plate (flat end) downward. Space the cloves about 6 to 8 inches apart and plant them at a depth of 2 to 3 inches. Cover the cloves with soil and gently firm it down.
4. Providing Adequate Water and Mulch
Garlic requires consistent moisture for proper growth, especially during the early stages. Water the garlic plants regularly, keeping the soil evenly moist but not waterlogged. Avoid overhead watering, as wet foliage can lead to fungal diseases. Applying a layer of organic mulch, such as straw or chopped leaves, around the plants helps conserve soil moisture, suppress weeds, and maintain a more even soil temperature.
5. Fertilizing Garlic
Garlic is a moderate feeder and benefits from a balanced organic fertilizer. Before planting, incorporate a slow-release organic fertilizer into the soil. Additionally, you can side-dress the garlic plants with compost or aged manure in early spring to provide them with an extra nutrient boost. Be cautious not to over-fertilize, as excessive nitrogen can lead to larger leaves but smaller bulbs.
6. Scaping and Harvesting
Hardneck garlic varieties produce scapes, which are curly flower stalks that emerge from the plant. It is recommended to remove the scapes to redirect the plant's energy towards bulb development. Harvest the scapes when they form one or two loops and use them in culinary preparations. The main garlic bulbs are ready for harvest when the lower leaves turn brown and dry. Carefully dig up the bulbs with a garden fork, taking care not to damage them. Allow the bulbs to dry in a well-ventilated, shady area for a couple of weeks before storing them.
7. Proper Storage
To enjoy your homegrown garlic for an extended period, it's essential to store it properly. After curing, brush off any excess dirt from the bulbs and trim the roots and tops, leaving about an inch of stem attached. Store the garlic in a cool, dry, and well-ventilated place, ideally between 35 to 50°F (2 to 10°C) with a humidity level of around 60-70%. Avoid storing garlic in areas with high humidity or direct sunlight, as it can cause the bulbs to sprout or deteriorate faster. A mesh bag or a wooden crate with good airflow is an ideal storage option. Check your stored garlic periodically and remove any bulbs that show signs of rot or mold to prevent spoilage.
In conclusion, growing garlic at home is a satisfying endeavor that allows you to enjoy the fresh, flavorful bulbs in your culinary creations. By following these seven essential tips, you can successfully cultivate garlic in your garden or even in containers. Remember to choose the right garlic variety, prepare the soil adequately, plant the cloves correctly, provide adequate water and mulch, fertilize appropriately, scape and harvest at the right time, and store the bulbs properly. With a little patience and care, you'll be rewarded with a bountiful harvest of delicious homegrown garlic. Enjoy the process and the flavorful rewards it brings to your kitchen!
READ ALSO » 10 Tips To Grow Thicker Eyebrows
